Showing posts with label Quiet books. Show all posts

Monday, December 17, 2018

Black and White Quiet Book, Monochrome Book

This black and white book is for visual stimulation. I saw that for kids room some parents prefer not so many colors, not a mix a bright colors that can distract the kids attention. I am agree with this.

black and white


You can see the entire book in this video. 


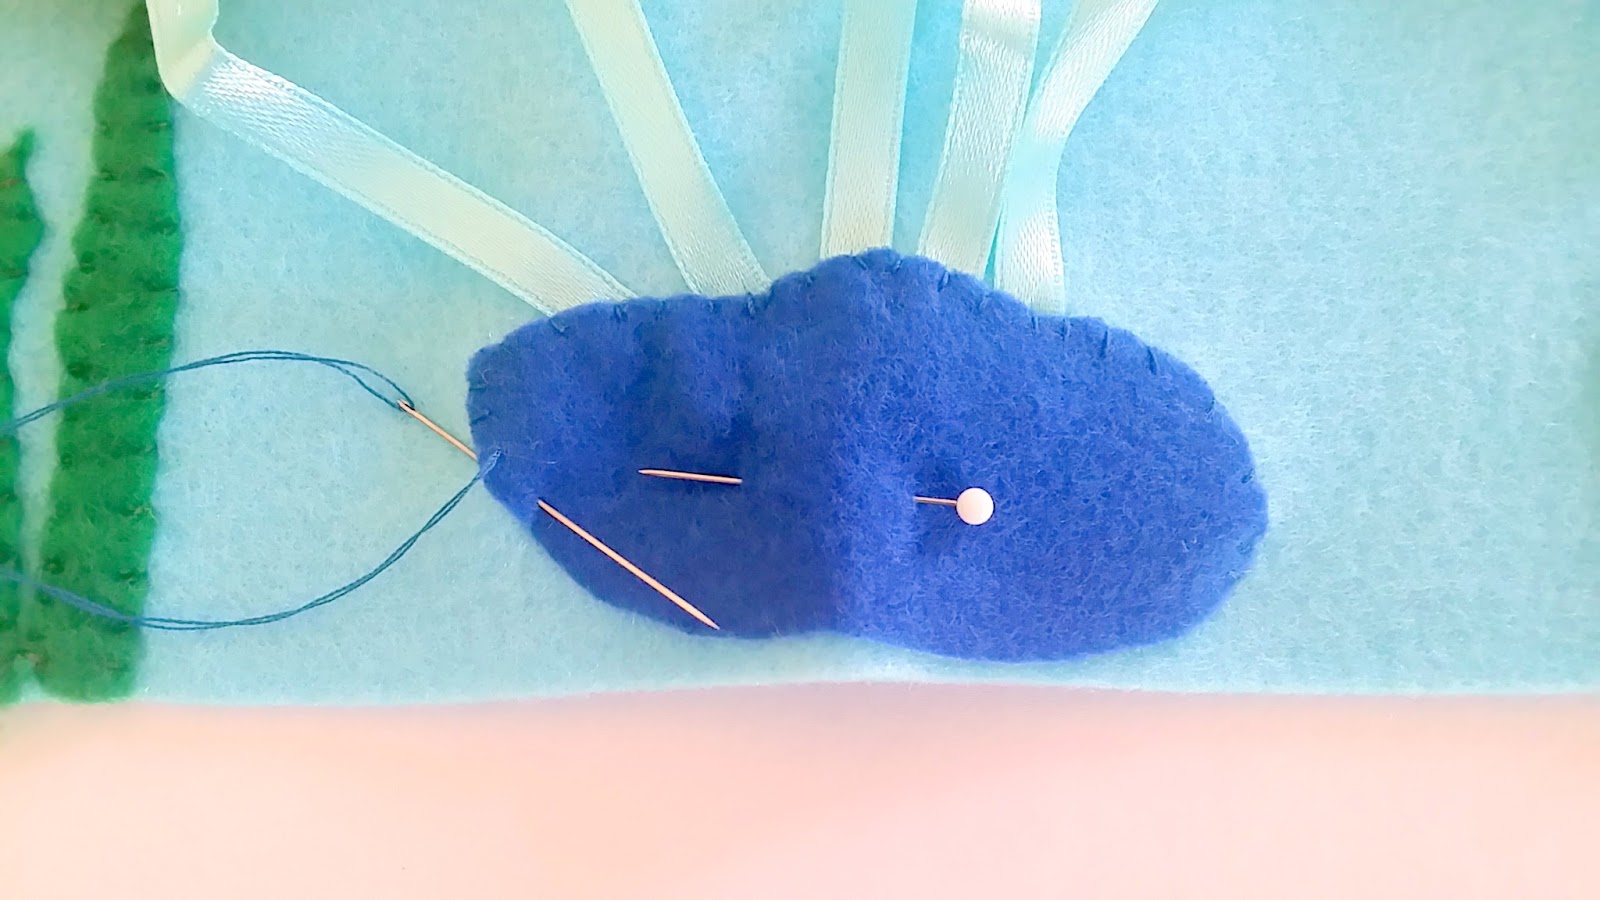
As my other quiet books, this one has multiple uses. Each page has some ribbons for hanging. So, you can use them for a baby crib and you can change them all the time. 

black and white

Each page has a shape. There are basic shapes, such as a rectangle, a circle, a triangle, a square. Others are creative shapes: a heart, a star, a fish, a house.

black and white

This is the back of the pages. All the black shapes are sew by sewing machine. Here I attached the ribbon for hanging. 

black and white

I sew around the pages, 2 sides, leaving a small open for turn them. 

black and white

I turned the pages inside out and I sew the open. 

black and white


black and white

The book can be used as a book too. You can teach shapes. The kids can follow with their finger each shape.

black and white

The book is made of black and white cotton. It can be washed and iron.

black and white


black and white

Make a monochrome book too. It is easy. You can use white and red or white and blue too. 

I sold this book, but if you want one, please contact me or visit My Shop

Ema 


Friday, November 30, 2018

Butterfly quiet book

I like to make things with multiple uses. My quiet books are educational toys. Because I am a teacher, I try to make everything to follow a teaching purpose. This is a butterfly shaped quiet book. It can be used at home or at school for many activities. 

quiet book

Activities with my butterfly quiet book 

  1. Count from 1 to 10, move up and down the beads. It is important for kids to move the objects. 
  2. Talk about butterfly life cycle. Under the leaves, you will find out the eggs. 
  3. Talk about inside and outside, hiding the butterfly inside its cocoon. The butterfly is a finger puppet. 
  4. Invent some stories about the butterfly. 
  5. Count the eggs, the leaves, the caterpillar circles. 
  6. Move the caterpillar circles while counting them. 
quiet book
Butterfly quiet book 

7. Weave the cocoons. 

quiet book


quiet book

8. This is the front cover. It has sequin fabric on the wings and you can feel it with your fingers.

quiet book

9. Match the colors and the wings. Sort them, count them.

quiet book

10. This is the back cover of the book. Move up and down the butterflies. Invent a story. 

quiet book

You can find my book in My Shop. Or you can order one with your design. 

quiet book
Butterfly quiet book
If you want a book like this, visit my Etsy Shop. 

EmaDecorations


Monday, June 5, 2017

How to make felt pizza

All kids love pizza. Let's make one from felt. It will be an educational toy for them. Using this felt pizza you can do many activities:
1. count the slices
2. place them on the felt board (motor skills)
3. talk about healthy food and healthy pizza
4. talk about what kind of pizza you prefer - vote for one
5. invent a silly story about a giant pizza or a strange one


You need: green felt for board - A5 size, light brown felt for slices, red felt for the ketchup, salami and the pepper, a small piece of yellow felt for cheese and a small white one for the mushroom, a small light green felt for the pepper stem, stuffing, assorted thread, Velcro.

How to make: 
Download and print the pattern How to make felt pizza JPG format or How to make felt pizza PDF pattern . I put here the jpg and the PDF format too because you can not modify the PDF format, but you can enlarge the jpg format if you want a bigger pizza. 

Cut all the pieces: 2 pieces for every slice, the ketchup, the salami, the mushroom, the cheese, the pepper.
Sew the Velcro on the back of one part of the pizza. Sew the ketchup and the salami.  


Your pizza will look like this. Now, you have to sew the slices together. 


Fix the both part of each slice with a pin and sew them together using blanket stitches. Start sewing from the top, from the left corner.


After you have sewed two parts, stuff it lightly to be puffy. A puffy pizza! Continue to sew until the end.


Your slices are done. 
Sew the pepper, the cheese and the mushroom on the felt board. 


Completely done. Delicious puffy pizza. 


This felt board is a page from my 10 pages quiet book. You can see it or buy it in My Etsy Shop

Have fun sewing.
Ema


Sunday, June 4, 2017

How to make felt fish for counting

Help your kids to count and to recognize the colors with some colorful fish. You can make a quiet book page with them or a felt board and you can put as many as you want. This will be a fun way to learn something. The kids learn easily if they can touch the object and move them, if they can feel the textures and play with something real. 


You need: colorful felt for fish (the colors you want), ribbon, Velcro, a light blue felt - size A5, green felt for the weeds and dark blue felt for the wave, black thread for eyes, assorted thread for the other items, stuffing.

How to make: Download and print the pattern Fish pattern JPG format or Fish pattern PDF format. I put here the jpg and the PDF format too because you can not modify the PDF format, but you can enlarge the jpg format.

Cut the fish - 2 pieces for every fish. I make 5 fish with blue, yellow, orange, purple and pink, but if you want what color you want. Sew a little piece of Velcro on the back. 


Using a black thread, sew an eye - make a french knot for the eye.


Prepare the ribbon - make 2 knots at the ends, burn it a little to prevent unweaving. The ribbon could be 15 cm.

Sew the both parts of the fish using blanket stitch.


Stuff lightly.


Place one end of the ribbon inside the fish and sew the fish and the ribbon together. 


Do the same for the others.


The weeds - Cut some green felt for them - free form.


Sew them on the blue felt board.


Sew the ends of the ribbon on the felt board, together as a bouquet.


Place the wave (could be a stone if you want ) to hide the ends and sew it going around.


Your felt board is done. With five fish or more.


For a neat aspect, sew the felt board all around, using blanket stitches.


This felt board is a page from my 10 pages quiet book and you can see and buy it in My Etsy Shop

Ema

Friday, April 21, 2017

How to make a ladybug pocket from felt

Here it is my tutorial for making a felt ladybug pocket. You can use it for a quiet book, for a felt board or just as a toy. The kids can practice using the zipper, can count the dots and can hide something in the pocket. Make a silly story about a ladybug, read the Grouchy ladybug by Eric Carle, invent a song, talk about the life cycle of a ladybug, about their food and their habits. 


What you need: green, black and red felt, a zipper, black and red thread, a pair of scissors. The green felt is for sewing the ladybug on it.

How to make it:
The body of the ladybug - Cut a circle as big as you want and according to your zipper. My circle is 15 cm in diameter.


Fold the circle to see the half.


Cut on the middle but not the entire circle. Leave 0.5 - 1 cm on the top and on the bottom too.


Pin the zipper.

This is the back.

If the zipper is too long, cut the bottom and secure it by sewing.


Sew the zipper and the edges.


Sew some small black circles on the body.


The head - cut a circle - 6 cm. Sew some white eyes with 2 black dots.

Place the head under the body. Sew the head.


After you sew the head, sew 2 antennas - make a long line and a french knot on the top.


If you want, you can sew a smiley mouth.


Sew the body using red thread.


The ladybug is done. What do you want to keep inside?


Best,
Ema 

Penguin Toy

A new penguin toy in my collection. Soft and fluffy, I made him from two different fleece. My daughter said that fleece from his belly is a...